

Every great game starts with a simple idea. But turning that idea into something playable and engaging takes strategy, creativity, and an understanding of game design fundamentals. If you’ve ever dreamed of making your own game but didn’t know where to start, this guide will walk you through the process—from the first spark of inspiration to a working prototype.
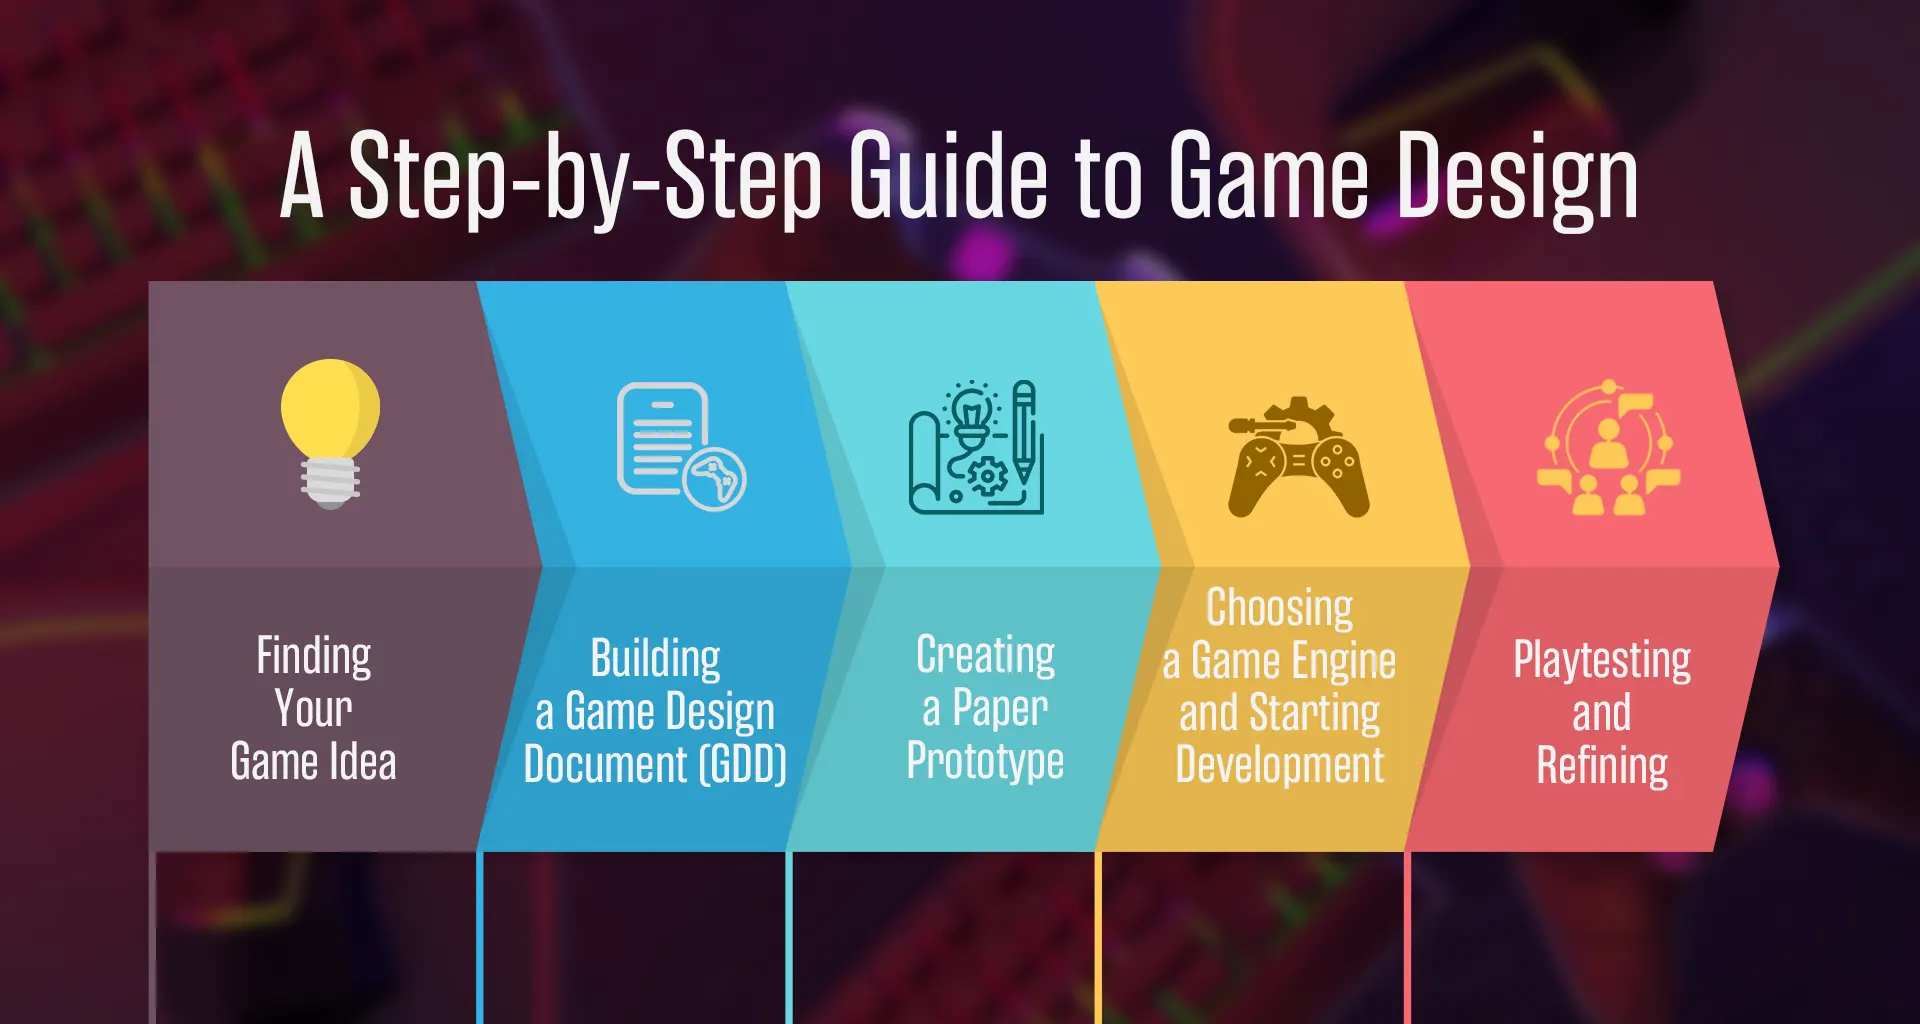
Step 1: Finding Your Game Idea
Game ideas can come from anywhere—a childhood memory, a book you love, or even a simple “what if” question. But a good idea isn’t enough. It needs to be unique, achievable, and engaging.
- Start with a core mechanic: What is the one thing that makes your game fun? Jumping between platforms, solving puzzles, or fast-paced combat?
- Identify your audience: Are you making a game for casual mobile players, hardcore PC gamers, or something in between?
- Study successful games: Look at what makes top indie or AAA games work, but don’t just copy them—find your own twist.
Once you have a solid idea, write it down. Summarize it in one or two sentences. If you can’t explain it simply, it’s probably too complex at this stage.
Step 2: Building a Game Design Document (GDD)
A Game Design Document (GDD) is a blueprint for your game. Even if you’re working alone, having a structured plan will keep you on track.
Your GDD should include:
- Game mechanics: How does the game work? What are the controls and objectives?
- Story & setting: Where does the game take place? What’s the backstory?
- Art & sound direction: Will the game have pixel art, realistic 3D graphics, or a minimalist style?
- Target platform: Will it be a PC game, a mobile app, or a console title?
The goal isn’t to have every detail figured out but to have a clear vision before you start building.
Step 3: Creating a Paper Prototype
Before jumping into coding, many designers test their game ideas with a simple paper prototype. This works especially well for puzzle games, strategy games, or anything turn-based.
- Sketch out levels and UI: Draw how the game screen will look.
- Use cards or tokens: Represent characters, obstacles, or enemies with simple cutouts.
- Playtest manually: Pretend to “play” the game and note what feels fun or broken.
This quick, low-cost method can save hours of work later in development.
Step 4: Choosing a Game Engine and Starting Development
Once your idea feels solid, it’s time to bring it to life using game engines like:
- Unity (C#) – Great for 2D and 3D games, widely used in indie development.
- Unreal Engine (Blueprints & C++) – High-end visuals, perfect for ambitious projects.
- Godot (GDScript) – Lightweight and beginner-friendly for indie developers.
If you’re new to coding, many engines offer no-code tools to help you start. The key is to build a small, working version of your game with just the core mechanics. Don’t worry about graphics or sound yet—focus on making it fun.
Step 5: Playtesting and Refining
Your first prototype won’t be perfect, and that’s okay. Playtest it early and often, gathering feedback from friends, fellow developers, or online communities.
- Is the gameplay intuitive? Can new players pick it up easily?
- Is it fun? If not, what’s missing?
- Are there any major bugs? Fixing issues now will save you time later.
Game development is an iterative process—you build, test, tweak, and repeat until it feels right.
Where Do You Go From Here?
Creating a prototype is just the beginning. The next steps involve expanding the game, polishing mechanics, adding art and sound, and eventually launching it. But getting past the prototype stage is where many aspiring game developers get stuck.
If you’re serious about breaking into the gaming industry, learning from professionals can speed up your progress and help you avoid common mistakes. Whether you want to develop your own indie game or work in a top studio, structured learning can give you the skills and insights to make it happen.
The gaming industry is growing rapidly—if you’ve ever wanted to be a part of it, now is the time to take the first step.